Setting up adb tool
Android Debug Bridge (adb) is a command line tool that allows the computer to communicate with attached Android devices. We will be using adb tool to capture screenshots of the mobile screen, simulate virtual touches and virtual swipes.
These are the steps that you have to follow to setup adb tool.
Step 1: Setting up adb tool
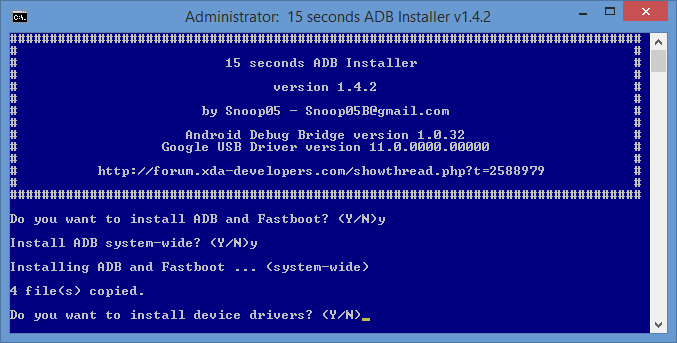
We will need a software called adb fastboot in order to be able to use the adb tool. Download the files in the provided link.
Link: http://forum.xda-developers.com/showthread.php?p=48915118
This will create a new file in your main hard drive (which is C: in most cases) named adb. We have to add this to the environment path so that adb.exe can be used from anywhere in your computer.
Go to Control Panel -> System -> Advanced System Settings and a new window pop up. Go to the Advanced tab in this window and click Environment Variables. In the System Variables (the bottom section), choose the variable path and click edit to change it's value. At the end of the value, add ;C:\adb\. This will add the adb folder to your path that can be accessed from anywhere.
Step 2: Installing device drivers
You can find the drivers from Universal drivers (http://adbdriver.com/downloads/) or Android developers website (http://developer.android.com/tools/extras/oem-usb.html#InstallingDriver).
Open the Device Manager (click Start, type Device Manager, and press Enter), locate your device, right-click it and select Properties. You may see a yellow exclamation mark next to the device if its driver isn't installed properly. You might also have to force windows to use the installed drivers for your phone.
Step 3: Enable USB debugging
To use adb with your Android device, you have to enable USB debugging.
You will find this in the developer options menu inside settings. If the developer options menu is not available, go into about phone menu in settings and tap the build number seven times to enable developer options menu. Also, make sure that you accept RSA fingerprint message shown in the device when its connected for the first time.
Step 4: Testing
To test whether adb is working properly, connect your Android device to your computer using USB cable and run the following command in the command prompt. This should list the devices.
adb devices
Also run the following command on MATLAB
system('adb devices')
The output of both the commands should look similar to this if your Android device is connected properly and detected.
List of devices attached
T038509BHC    device
If it says, command not found, it means adb tool is not setup properly, check if you complete step 1 correctly. If your device is connected but nothing appears in the list, check if your device drivers are installed properly.
It is also possible to use adb tool over WiFi. For more information on how to do that, visit: http://developer.android.com/tools/help/adb.html#wireless
Basic adb Tool Commands
Here are some commands that can be used with adb tool.
To take a screenshot of the device connected and store it on the sd card with the name screen.png.
adb shell screencap -p /sdcard/screen.png
To copy the image stored previously on the sdcard on your computer's working directory.
adb pull /sdcard/screen.png
To tap on the screen at coordinates (x,y).
adb shell input tap x y
To swipe the screen from coordinates (x1, y1) to coordinates (x2,y2) with a delay of w milliseconds.
adb shell input swipe x1 y1 x2 y2 w
To remove screenshot that has been stored.
adb shell rm -f /sdcard/test.txt
That's all you need to know about adb tool. Next, let us cover each of the approaches in detail.
Remember, adb tool can only be used for Android phones. Instruments can be used to accomplish the same tasks that adb tool does in iOS.